
FeeMaster — Complete Fee Management for Indian Schools
A production-ready Windows desktop application — student fees, staff payroll, attendance, and financial reports — all offline, all in one place.
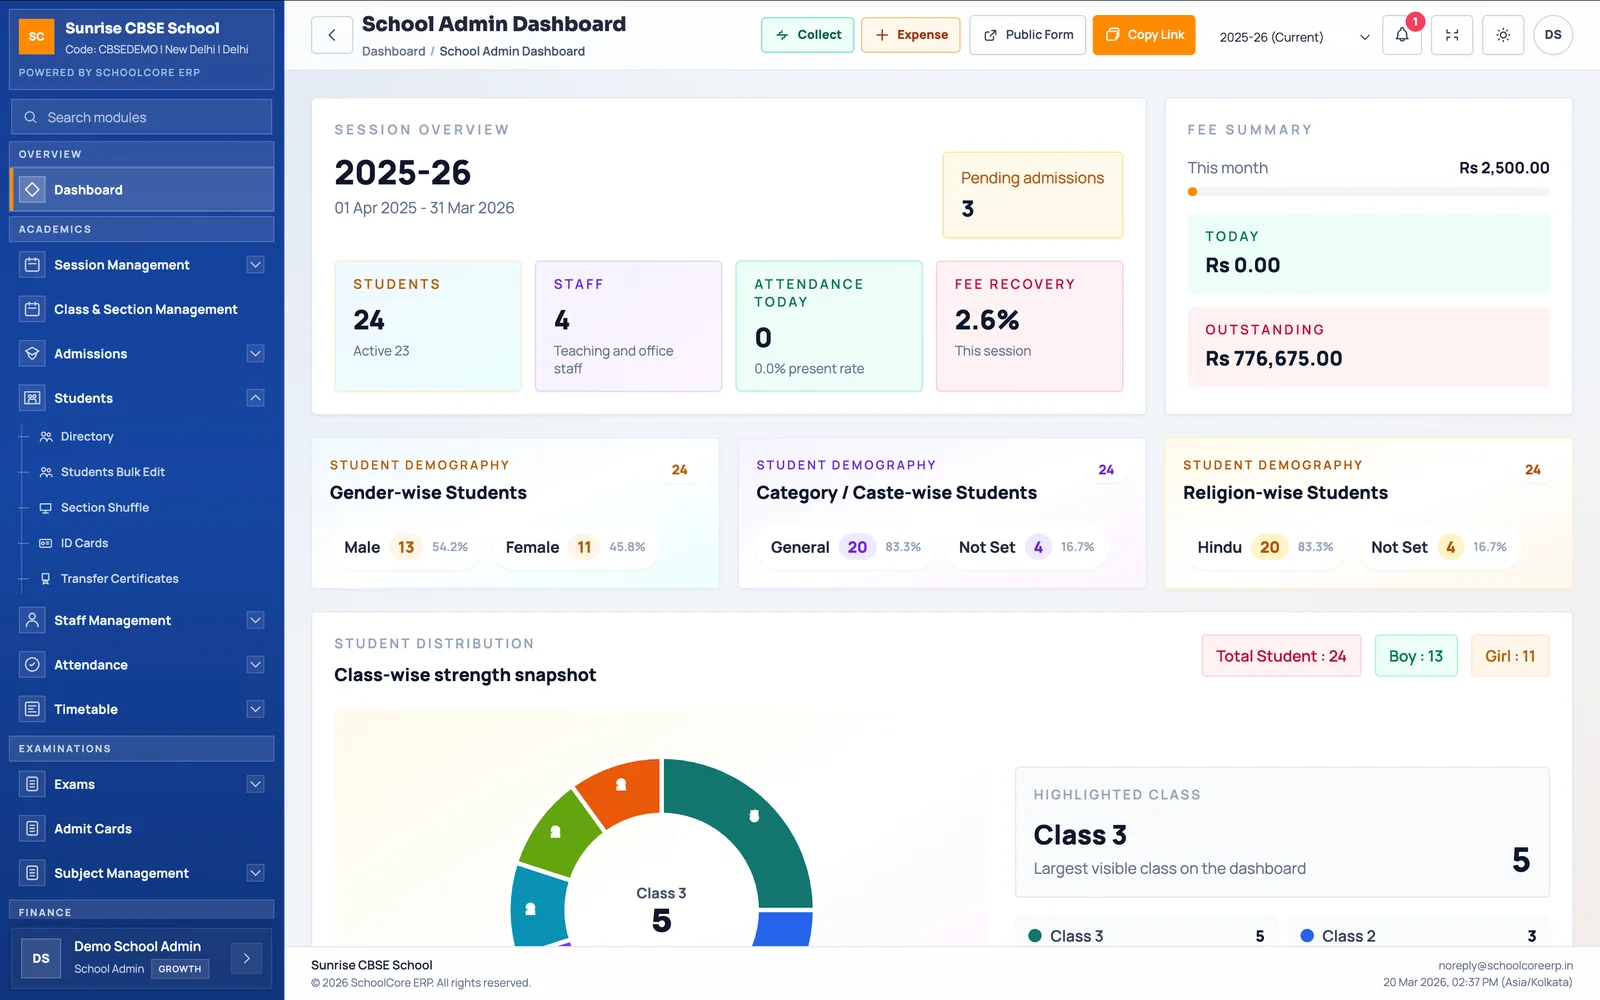
Features Built For Indian Schools
Everything you need to handle finances, students, and staff offline in a fast, robust desktop package.
Fee Collection
Collect fees by Admission Number — see all pending dues instantly, enter any amount, and the system allocates it month-by-month automatically. Generates a printable PDF receipt.
Fee Heads & Structures
Define mandatory (Tuition) and optional (Transport) fee heads. Set class-wise amounts per academic year. Fees never get mixed up across sessions.
Staff & Payroll
Complete staff profiles, daily attendance marking, monthly salary generation, advance handling, and printable PDF salary vouchers.
Student Management
Full digital student register with bulk Excel import. End-of-year promotion wizard that moves students to next class while keeping all history intact.
Reports
Filter fee collection, defaulter lists, and salary disbursements by date, class, month, student, and status. Export to PDF or Excel. Print directly from the app.
Role-Based Access
Three roles: Owner (full access), Admin (students + attendance), Accountant (fees only). Each login sees only their permitted modules.
How to Get FeeMaster
We guide you from initial inquiry to a fully operational system setup.
Contact Us
Email yoursbench@gmail.com or call +91-9389603320
Setup Call
We understand your school's structure
Installation
We assist with installation and initial data setup
Training
30-60 minute walkthrough for your team
Ongoing Support
Available for questions, updates, and new features
App Documentation
Learn how to set up, configure, and use FeeMaster in your school.
Key Features
Dual-layer password security (Admin Login + Settings Password). Built-in logout.
First-launch setup — School Name, Address, Contact, Logo, Academic Year.
Mandatory/optional, recurring (monthly/annual/term) or one-time fee categories.
Class-wise fee amounts per academic year.
Transport routes with custom monthly conveyance costs.
Admission No, Name, Class, DOB, Parent Contact, Transport Opt-in. Bulk Excel import.
End-of-year class promotions preserving full history.
Fetch dues by Admission Number. Flexible amount — auto-allocates oldest dues first. Leftover: auto-apply next month or hold as advance credit. PDF receipt auto-generated.
Review, reprint, or inspect past transactions.
Staff profiles, designations, departments. Bulk Excel import.
Daily Present/Absent/Leave/Half-day with remarks.
Basic Pay + Allowances - Deductions. Monthly salary generation, advances, cash/bank disbursement, PDF salary vouchers.
Collection history, defaulter records, salary payout history. Filter by date/class/student/month. Print + Export PDF/Excel.
Stored at %LOCALAPPDATA%\FeeMaster\feemaster.db. Fully offline. No internet required.
Step-by-Step Guide
Initial Setup
Launch the app. Setup Wizard appears on first run. Fill in: School Name, Address, Contact Number, School Logo, Academic Year Label (e.g. 2026-27), Start & End Date. Click "Finish Setup".
Login
Default admin password is "admin". Change it via Settings → Change Password.
Configure Settings (do before adding students)
Go to Settings tab → enter settings password (default: admin). Then:
- Fee Heads Master: Add fee heads with name + recurrence type.
- Fee Structure Setup: Map amounts per class per academic year.
- Route Management: Add transport routes if transport module is required.
Add Students
Individual entry: Students → Student Profiles → Add Student (Admission No must be unique).
Bulk import: Settings → Bulk Import Students → download template → fill it → upload.
Collect Fees
Go to Collect Fee tab → enter Admission Number → click Fetch→ view pending dues table → enter Amount Received → choose leftover handling (auto-apply or hold as advance) → Preview & Pay → Confirm & Pay. A PDF receipt is generated automatically.
Staff & Payroll
Staff → Staff Profiles → Add Staff. Configure Salary Structure (Basic Pay + Allowances - Deductions). Go to Salary Management → select month → generate dues → record payouts → print PDF voucher.
Attendance
Staff → Staff Attendance → select date → mark status (Present/Absent/Leave/Half-day) → Save Attendance.
Reports
Reports tab → choose report type (Collection history, Defaulters, Salary payout) → apply filters (date/class/student/month) → click Print or Export PDF/Excel.
Security
Settings module always requires a settings password. Secure logout button is located at the bottom of the sidebar.
Streamline your school fees & payroll today.
Contact us for a demo, system installation, and onboarding training customized to your school's curriculum.